
How to split, edit, or redact sections of an image

TL;DR
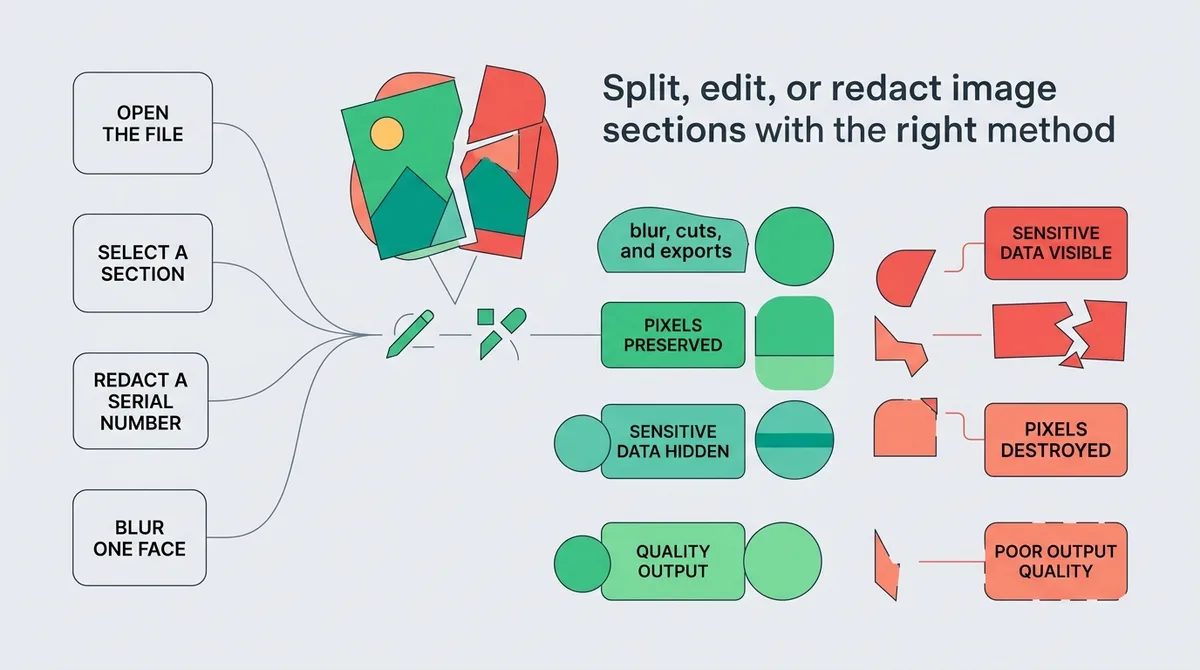
Splitting, editing, or redacting sections of an image needs the right method: crop vs slice, layer vs destructive fill, and a flat export when redaction must stick.
You open the file. You need to blur one face, cut out one panel, or black out a serial number. The task looks simple. Then you spend forty minutes trying three different tools before giving up on the output quality.
Most people reach for the same tool regardless of the goal. Crop, blur, and redact are not interchangeable operations. Each one touches the file differently. Choosing the wrong one either destroys pixels you needed or leaves sensitive data technically visible under the mask.
This guide separates the three tasks clearly. It gives you a decision point before the first click, walks through selection and manual refinement, and covers export settings that protect the areas you did not touch. It applies to anyone editing product screenshots, legal documents, or team photos where partial edits matter, and where every image section you touch deserves a deliberate choice.
What is the difference between splitting, editing, and redacting an image?
Splitting produces two or more separate image files from one source. Editing modifies a region within the same file. Redacting removes or permanently obscures specific content while leaving the rest of the image intact.
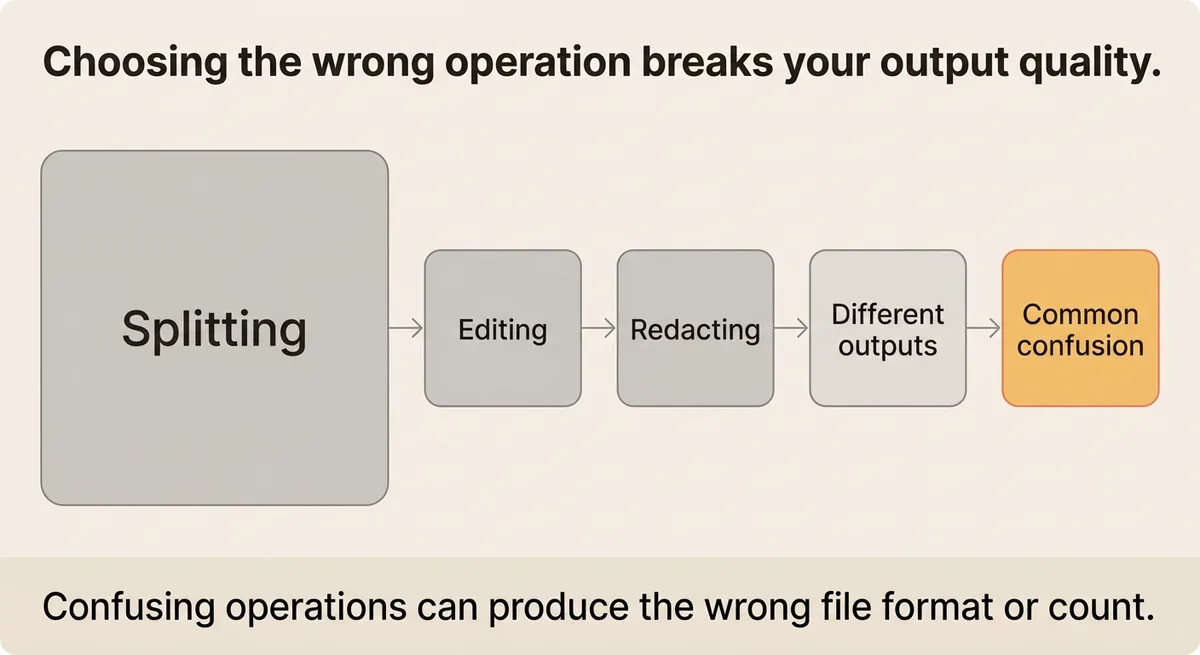
Each task has a different output. Confusing them produces the wrong file format, the wrong number of files, or a redaction that looks permanent but is not.
Pick the task first. Then pick the tool.
Match your goal to the right method before you open any tool
The biggest time loss in partial image editing is tool-switching after you have already started.
You open a screenshot, reach for the blur tool, realize you actually need two separate files, and start over. That loop is preventable. The fix is one question asked before you touch the file: what does the output look like?
According to Microsoft’s Office support documentation, four vector formats cannot be processed by its background removal tool: SVG, AI, WMF, and DRW [3]. If your source file is in one of these formats (and other tools may have similar restrictions), export a raster version before any selection-based editing applies. Skipping that check wastes the time you spend making selections that the tool will reject anyway.
Use this table to match your goal to the correct starting method.
Goal | Output | Starting method |
|---|---|---|
Two separate image files | Multiple files | Canvas split or slice tool |
Adjust color, exposure, or content in one region | Same file, modified area | Selection plus layer adjustment |
Hide sensitive text or a face permanently | Same file, obscured area | Redaction fill or destructive blur |
The table replaces the guessing step. Read the output column first. If you need multiple files, no amount of blur work gets you there. If you need permanent obscuring, a crop will not do it.
One implementation caveat: “permanent” only means permanent if you export to a flattened format. A redaction applied on a layer above the original pixel data is still reversible if you save the file with layers intact. That distinction matters most in legal or compliance contexts. The export step is not optional cleanup; it is part of the redaction itself.
Stop reaching for the closest tool. Start identifying the output file before opening anything.
You probably think cropping is the same as splitting, it is not
Cropping removes everything outside a selected rectangle and gives you one smaller file. Splitting gives you two or more files that together cover the original image area.
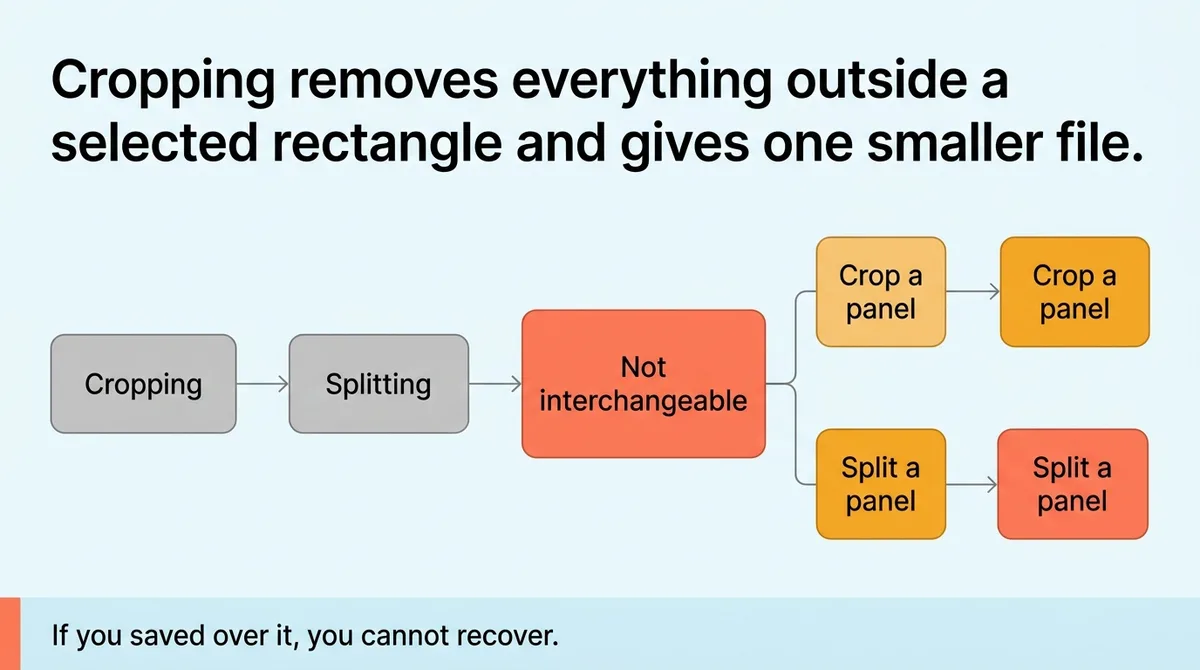
That distinction is not semantic. If you crop a product image to isolate the left panel, the right panel is gone. If you split it, both panels exist as separate exports. Recovering the discarded half means going back to the original file. If you saved over it, you cannot.
Pixpa’s image list section, for example, offers five crop shapes: square, circle, horizontal, portrait, and original [1]. Every one of those is a destructive single-output operation. None of them split the file. Using crop when you needed a split means re-exporting from scratch. If the original is gone, that is simply not possible.
Splitting works differently depending on the tool. In Photoshop, the Slice tool divides the canvas into defined regions and exports each as a separate file. In Figma, you export individual frames. In a simple editor, you crop twice from the original: once for the left section, once for the right, without saving over the source.
The practical rule is this: never work on the only copy of a file when you need multiple outputs. Duplicate the file before the first edit. That one step is the only protection against destructive crop decisions made by mistake.
For example, imagine a marketing coordinator who crops a banner image to isolate the product area, saves it, then realizes the client also needs the background section as a separate asset. The original is gone. The fix takes two hours of reshooting or sourcing stock. The duplicate step would have taken four seconds.
How to select, isolate, and manually refine any section of an image
Automatic selection tools fail on complex edges. A face against a busy background, text over a gradient, or a logo on a textured surface will produce a selection with ragged edges or missing chunks.
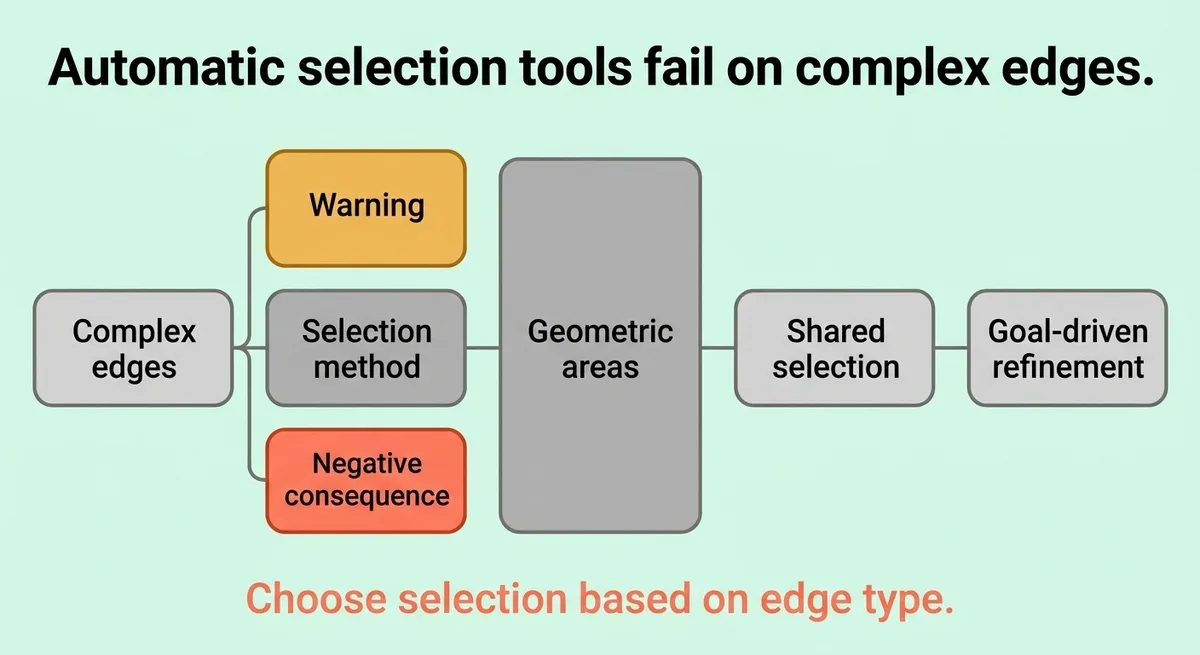
The process below works for all three tasks: splitting, editing, and redacting. The selection step is shared. What you do after the selection depends on your goal.
Step 1: Choose a selection method based on edge type.
Clean geometric areas use a rectangular or elliptical marquee. Irregular shapes with clear contrast use a magic wand or quick selection tool. Complex edges, like hair or foliage, use a pen tool or refine-edge workflow.
Step 2: Make the initial selection.
Let the automatic tool run first. It will get most of it. Do not spend time adjusting the tool settings before seeing what the default gives you.
Step 3: Refine manually.
Zoom to 100 percent. Switch to quick mask mode or the selection refinement panel. Paint back in areas the tool missed. Remove areas it included by mistake. Evernote’s image annotation tool, for example, caps editable files at 100 MB [2]. In tools with a similar cap, files above the limit may need to be compressed or downscaled before the selection tools respond reliably.
Step 4: Feather the selection edge if needed.
A hard selection edge looks cut-out when you apply a blur or fill. A feather of 1 to 3 pixels softens it. For redactions over text, keep feathering at zero. A soft edge over a serial number may leave partial characters visible, which defeats the purpose.
Step 5: Apply the edit, adjustment, or redaction to the selection only.
For editing: add a layer mask linked to the selection. Apply your adjustment layer above it. The mask limits the adjustment to your selected area.
For redacting: with the selection active, fill it with solid black or a matching background color. Use a destructive fill, not a layer. If the fill sits on a separate layer, the original content is still in the file.
For splitting: use the selection to define the crop boundary for each export. Do not merge or flatten until each section has been exported separately.
Manual refinement is where most partial edits fail. The automatic selection looks acceptable at thumbnail size, then falls apart at full resolution. Checking at 100 percent zoom before applying anything is the single step that prevents re-doing the entire sequence.
Saving and exporting partial edits without breaking the untouched areas
The edit is done. The selection is clean. The next mistake happens at export.
Saving a layered file as a JPEG flattens every layer into one. If your redaction was on a separate layer above the original, the exported file looks correct. The original pixel data is gone from the JPEG. That is what you want for redaction.
The problem runs the other way for editing. If you made color adjustments using a layer mask and export as a flat JPEG, you cannot go back and change the adjustment. The working file must be saved in a format that preserves layers: PSD for Photoshop, TIFF with layers, or the native format of whatever tool you used.
Two formats, two purposes:
Format | Preserves layers | Use case |
|---|---|---|
PSD / native | Yes | Working file, ongoing edits |
TIFF (with layers) | Yes | Archive with compatibility |
JPEG / PNG (flat) | No | Final delivery, redaction output |
For redaction specifically, the delivery file must be flat. A PDF with a black rectangle drawn over text may look redacted but the text layer is still in the file and searchable. The same risk applies to image editors: a fill on a layer above the original is not a redaction. It is a mask. Export to a flat JPEG or PNG to make the obscuring permanent.
For split outputs, export each section as a separate file before flattening anything. Use numbered naming: image-left.jpg, image-right.jpg. Do not save over the original. The source file stays untouched until all exports are confirmed.
For partial edits with layer masks, export the flat version for delivery and keep the layered working file. If a client requests a change to the adjusted region, open the working file, modify the adjustment layer, and re-export. Without the working file, that change means starting over.
One more detail on PNG versus JPEG: PNG preserves transparency. If your split output has a transparent area (for example, a cutout of a logo with no background), export as PNG. JPEG fills transparency with white. The wrong format here causes a visible error in the final layout.
Check the file size of the export against what the delivery channel accepts. Large redacted images sent through annotation platforms may hit platform-specific upload limits (such as Evernote’s 100 MB cap) that require compression before submission.
Match the task to the method before the first click
Partial image edits fail at the decision point, not the execution point.
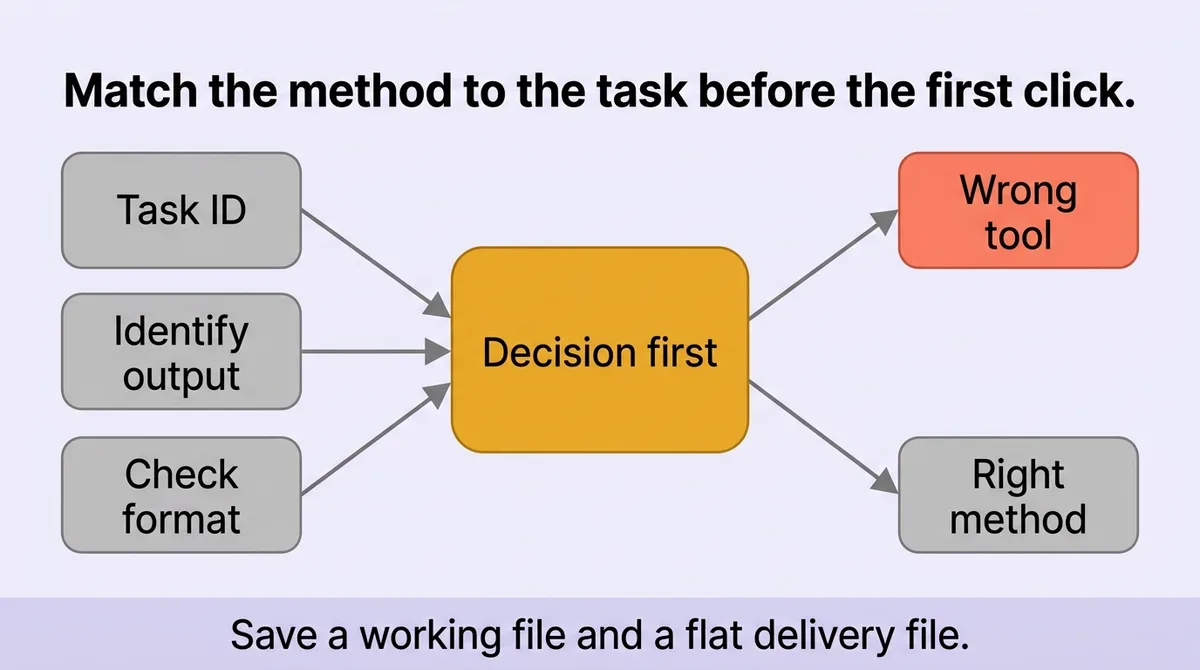
Picking crop when you needed split, or using a layer-based redaction when you needed a destructive fill: these are the errors that cause re-work. The editing skill matters less than the task identification that happens before the tool opens.
Identify the output. Check the source format. Make the selection at 100 percent zoom. Save a working file and a flat delivery file. Those four steps cover the majority of partial image editing without confusion.
References and Citations
[1]https://help.pixpa.com/kb/image-list-section/
[2]https://evernote.com/en-us/image-annotation/blur-part-of-a-image
[3]https://support.microsoft.com/en-us/office/graphics-visuals/cut-out-part-of-a-picture
FAQ
Cropping removes everything outside a selected rectangle and gives you one smaller file, while splitting produces two or more separate files that together cover the original image area. If you crop a product image to isolate the left panel, the right panel is permanently gone from that file. Splitting, by contrast, lets you export each section as its own file, so both halves survive as independent assets.
Permanent redaction requires a destructive fill applied directly to the pixel layer, not a separate layer placed on top, followed by exporting the file to a flat format like JPEG or PNG. A fill or black rectangle on its own layer above the original still leaves the source pixels in the file and can be removed by anyone who opens the layered version. Exporting to a flat JPEG or PNG collapses everything so the original content no longer exists in the output file, which is the step that makes the redaction truly permanent.
Automatic selection tools produce edges that look acceptable at thumbnail zoom but show ragged gaps or stray pixels when you view the image at 100 percent, because the tool approximates complex boundaries rather than tracing them precisely. The fix is to check every selection at 100 percent zoom before applying any edit, blur, or fill. Switch to quick mask mode or the refinement panel, paint back missing areas, and remove any included regions that should be outside the selection before you do anything else.
Save the working copy as a layered format, PSD, native project file, or TIFF with layers, so adjustments can be changed later, and export the delivery file as a flat JPEG or PNG. The flat export is also the required format for redaction, because a JPEG collapses all layers and removes the original pixel data beneath any fill. For teams producing large volumes of blog images and screenshots, Zelitho generates custom images per section as part of its article workflow, which can reduce much of the manual split-and-export loop for content assets.
Duplicate the original file before any editing, then crop or export each section separately from the duplicate so the source stays untouched. In Photoshop, the Slice tool lets you divide the canvas into defined regions and export each as its own file. In Figma, you export individual frames. The safest practice is to name each output clearly, for example image-left.jpg and image-right.jpg, and confirm all exports before closing the source. For marketing teams who need section-level images alongside articles, Zelitho produces custom per-section images as part of its automated article pipeline, which can cut down the manual splitting step in many content production workflows.