
How to create and publish a WordPress blog post without mistakes

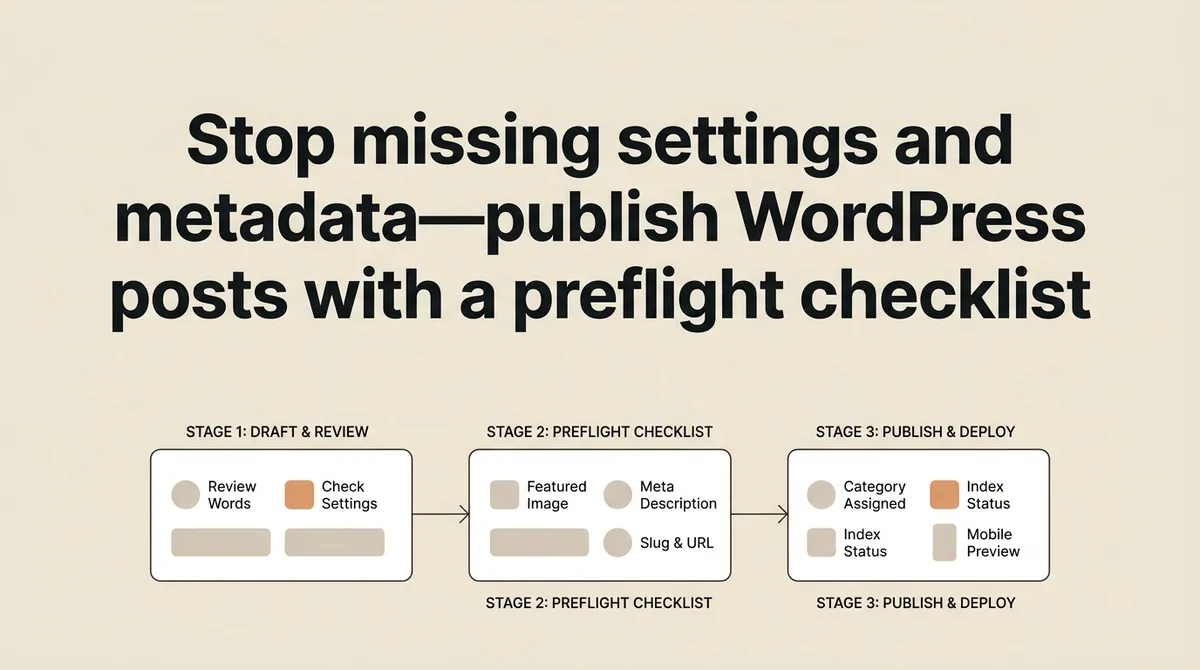
TL;DR
You open WordPress, paste the draft, click publish, and move on. Three days later, the post has no category, the meta description is blank, and mobile preview shows a broken layout nobody caught.
The standard advice is to just review before publishing. That review happens in the same tab, under the same time pressure, and it misses the same fields every time. A casual read-through checks words. It does not check settings, slugs, featured images, or index status.
This guide covers three stages: preparing your content before you touch the editor, running a structured check before you hit publish, and confirming the post is correctly configured after it goes live. Each stage has a clear pass or fail outcome. Content leads managing multiple posts, and agency founders running client blogs on thin margins, will find this process cuts correction cycles without adding overhead.
What does publishing a WordPress blog post correctly actually involve?
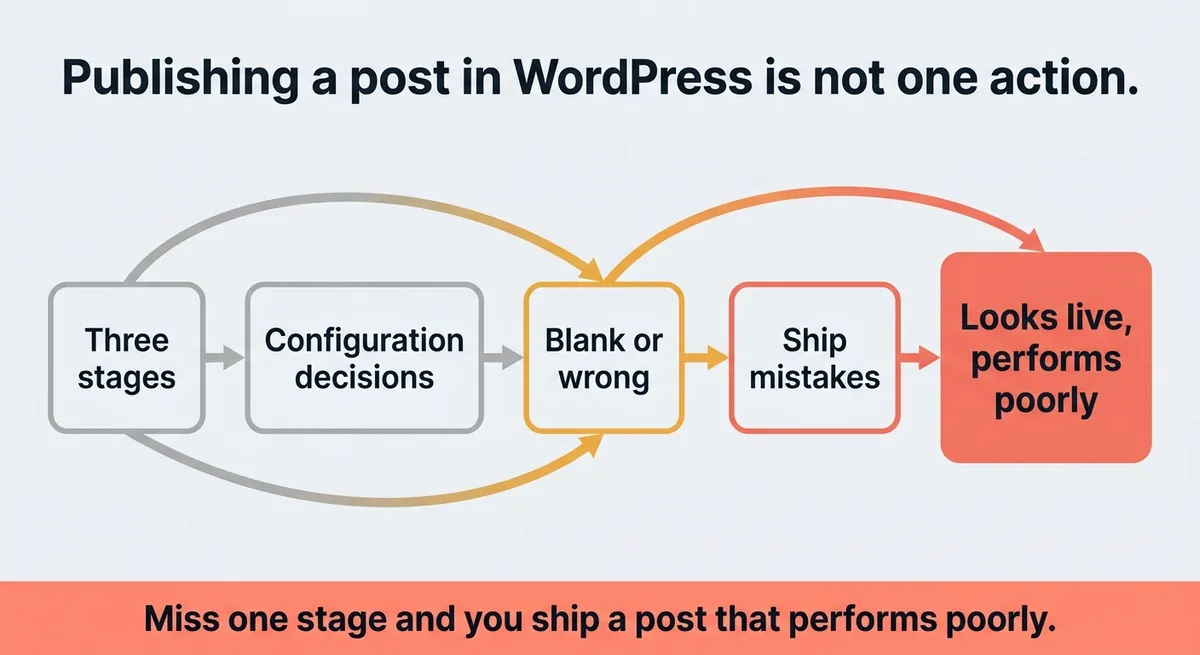
Publishing a post in WordPress is not one action. It is a sequence of configuration decisions made across three separate stages. Each stage has fields that default to blank or incorrect settings. Miss one stage and you ship a post that looks live but performs poorly from day one.
Why skipping preparation creates errors you cannot fix after publishing
Most errors in a published WordPress post were already locked in before the writer typed the first sentence.
The WordPress block editor saves drafts automatically. That feels safe. What it does not do is warn you that your slug is set to a string of random numbers, your post is assigned to no category, or your featured image dimension is wrong for your theme. Those defaults sit quietly until you publish.
The false assumption worth exposing early: publishing a post and configuring a post are two different actions. Most people treat them as one.
Preparation means making a set of decisions before you open the editor. Category, tags, author, slug format, internal linking targets, image alt text, and meta description all belong in a brief written setup before you draft. When you start writing without these decisions made, you make them under pressure at the end, or you skip them entirely.
For example, imagine a content lead at a B2B SaaS company managing 10 new posts in a sprint [1]. She pastes each draft into WordPress as the freelancers deliver them, intending to configure settings later. Later never arrives. Six posts go live with default slugs and no categories. Search engines crawl them, index thin metadata, and the posts rank for nothing within the first 15 days of being live [1]. The configuration work that should have taken five minutes per post now requires re-indexing requests, slug redirects, and social reshares with corrected links.
The preparation stage covers four specific items.
| Preparation Item | What to Set | What Breaks If Skipped |
|---|---|---|
| Slug | Short, keyword-relevant, no stop words | Default string or full title with spaces becomes the URL |
| Category and Tags | At least one category, 2–4 relevant tags | Post appears uncategorized, hurts site taxonomy |
| Author and Date | Correct author profile, accurate publish date | Wrong byline ships, date shows draft creation not publish |
| Featured Image | Correct dimensions for theme, alt text written | Broken layout on mobile, missing alt for accessibility |
Set these four items before you write a single word. You will not remember them at the end of a publishing session, and WordPress will not remind you.
Stop reviewing settings at publish time. Start making those decisions in a pre-draft setup that takes under ten minutes.
You probably think a final read-through is enough, it is not
Reading your post one more time before publishing checks your prose. It does not check your configuration.
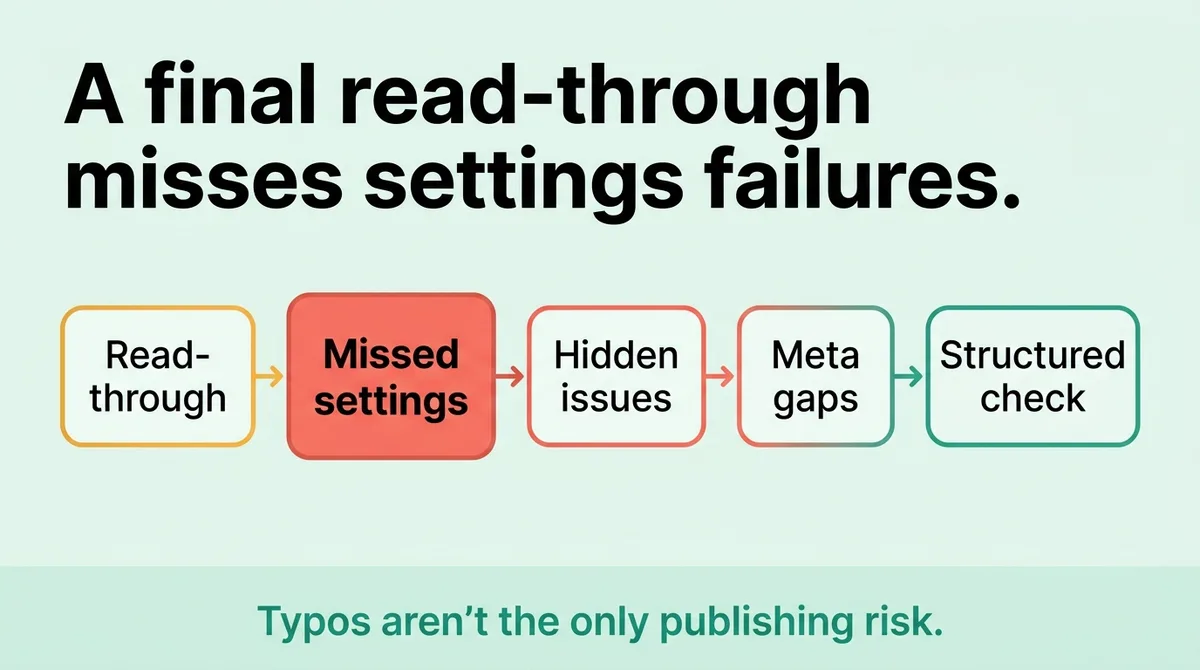
A final read-through catches typos. It does not catch a noindex tag left on from when the post was a draft, a broken internal link added two revisions ago, or a meta description field that still says “Add a meta description.” Those are settings failures, not writing failures, and they sit in fields outside the main editor view.
The structured pre-publish check has four layers. Each layer requires you to look at a specific field or preview, not just the body text.
Layer 1: SEO fields. Open your SEO plugin panel. Confirm the meta description is written and under 160 characters. Confirm the focus keyword appears in the title, slug, and first paragraph. Confirm the post is set to index, not noindex.
Layer 2: Links. Click every internal link in the post. One click. Confirm it opens the correct page and is not a 404. Check that any external link opens in a new tab if that is your standard. Broken links at publish are harder to catch after the post has been shared.
Layer 3: Formatting. Switch to mobile preview in WordPress before publishing. Read the first three paragraphs. Check that headings render at the right size, that images do not overflow the container, and that no paragraph runs longer than five lines on a phone screen. Desktop looks fine and mobile breaks quietly.
Layer 4: Metadata fields. Confirm category, tags, featured image, and author are all set. These live in the right sidebar panel in the block editor. Many writers never open that panel until something is wrong.
For example, imagine a small agency founder running three client blogs simultaneously. She trains a junior editor to handle WordPress uploads. The editor reads the post carefully each time. Publishing errors drop by zero percent because the editor is checking prose, not settings. A one-page checklist covering these four layers, handed to that editor on day one, removes the category of error that a read-through cannot catch.
The checklist is not a suggestion. It is a gate. The post does not move to publish until each layer returns a pass. That is the difference between a review and a structured pre-publish check.
The publishing step most beginners treat as the finish line
Clicking publish is not the end of the process. It is the midpoint.
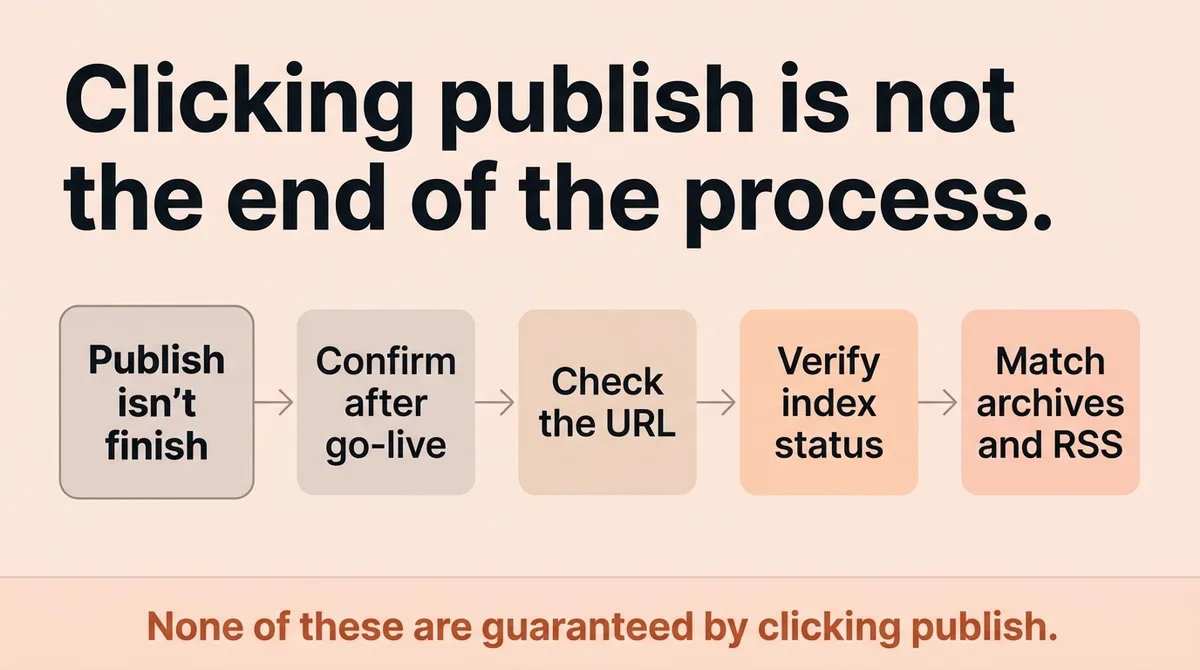
After a post goes live, three things require confirmation. The post must be reachable at its correct URL. The SEO plugin must confirm it is indexable. The post must appear in the correct category archive and in the site’s RSS feed.
None of these are guaranteed by clicking publish.
WordPress can publish a post to a URL that differs from your intended slug if you have edited the slug after saving the draft. A post can go live with a canonical URL pointing to a staging domain if the site was recently migrated. A post can publish with the correct settings but sit behind a sitewide noindex that the hosting platform applied during a maintenance window.
The post-publish confirmation sequence runs in order.
First, open the live URL in a browser tab where you are not logged into WordPress. Logged-in admins see draft previews. Confirm the post is publicly visible with no login prompt.
Second, paste the live URL into your SEO plugin’s URL inspection tool or into Google Search Console’s URL Inspection tool. Confirm the page is indexable and that no noindex tag is present. This check takes 30 seconds and catches the most damaging configuration error possible.
Third, visit your category archive page. Confirm the new post appears there. If it does not, the category was not saved correctly at publish.
Fourth, check your RSS feed by visiting yourdomain.com/feed in a browser. Confirm the new post appears at the top. This matters for email subscribers and feed readers that pull your content automatically.
These four checks take under five minutes. They catch errors that would otherwise sit undetected for days, damaging the post’s early crawl window.
What this guide does differently from standard WordPress tutorials
Most WordPress publishing tutorials walk you through the interface. Click here, type here, press publish. That is a feature tour, not a mistake-prevention guide.
The difference is consequence logic. Each step in this guide has a stated outcome if skipped. That structure changes how you use it. You are not following steps because they are listed. You are following them because each one has a specific failure mode attached.
Standard tutorials assume the writer knows what they need to configure. They show where the fields are. They do not explain that leaving a category blank creates an uncategorized post that search engines treat as thin content. They do not explain that a noindex tag left from draft mode is the fastest way to publish a post that will never appear in search results.
This guide is built around three questions for every step: what is being checked, what breaks if it is skipped, and what does a pass look like. That structure makes the process auditable. A content lead can hand it to a new hire. An agency founder can run it across five client posts in the same session without losing track of where each post stands.
Generic walkthroughs are written for someone publishing their first post. This process is built for someone publishing consistently, under time pressure, across multiple properties, who cannot afford to correct the same errors twice per post.
The three-stage structure, prepare before writing, check before publishing, confirm after publishing, works as a repeatable system because each stage catches a different category of error. Preparation catches structural decisions that cannot be changed cleanly after publishing. The pre-publish check catches settings failures invisible in the editor view. The post-publish confirmation catches live deployment errors that only appear after the post is public.
Each stage is a gate, not a guideline. You pass it or you do not move forward.
Publish once with confidence instead of correcting it twice
A stale blog usually has a workflow problem, not a content problem. The drafts exist. The edits happen. The posts sit unpublished or ship with errors that erode their performance quietly.
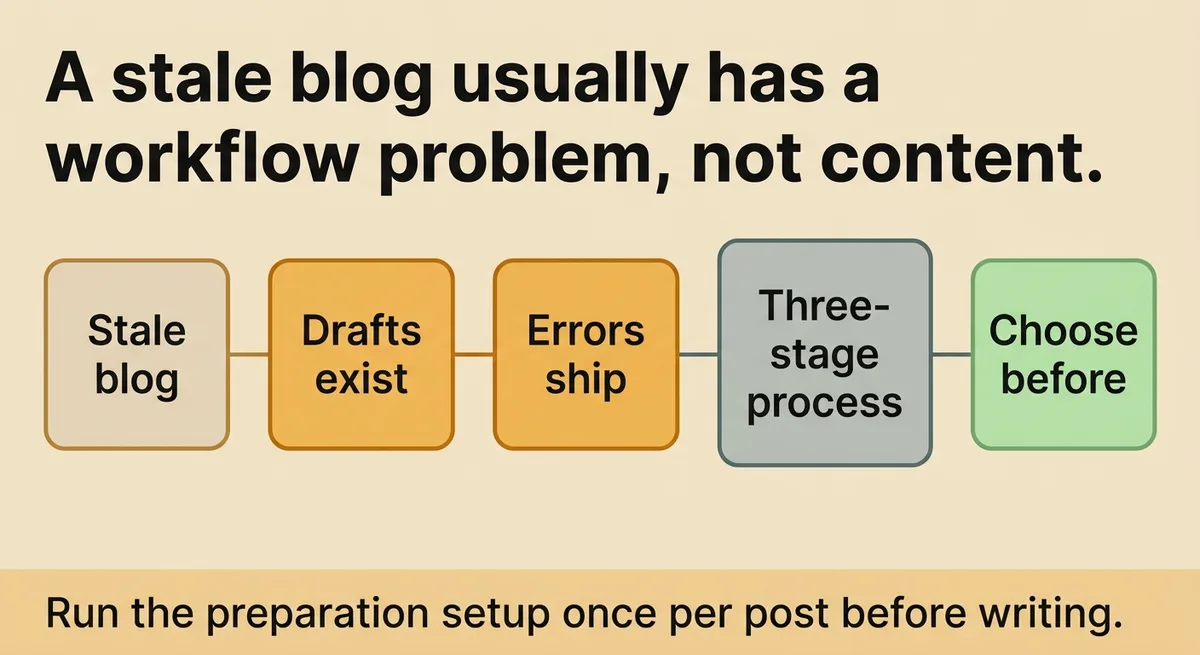
The three-stage process in this guide does not add time to your publishing workflow. It redistributes work that already happens, either before publishing by choice, or after publishing by necessity. Choosing before is faster.
Run the preparation setup once per post before writing. Run the structured four-layer check before every publish. Run the four-step confirmation sequence after every post goes live.
Each pass protects the previous one. Catch the slug error before you write. Catch the noindex before you share. Catch the category gap before the crawler visits.
Your next post ships correctly the first time.
FAQ
What should you check before publishing a WordPress blog post to avoid mistakes?
Before publishing a WordPress blog post, run a four-layer check covering SEO fields, links, formatting, and metadata. Open your SEO plugin and confirm the meta description is written and under 160 characters, the focus keyword appears in the title, slug, and first paragraph, and the post is set to index rather than noindex. Then click every internal link to confirm it is not a 404, switch to mobile preview to catch layout breaks, and verify that category, tags, featured image, and author are all set in the right sidebar panel.
What do you need to do after clicking publish on a WordPress post?
After clicking publish, you need to confirm four things: the post is publicly visible at its correct URL when viewed logged out, the page is indexable with no noindex tag present, the post appears in its category archive, and it shows up at the top of your RSS feed. These checks take under five minutes and catch live deployment errors, such as a canonical URL pointing to a staging domain or a sitewide noindex applied during a maintenance window, that only surface after the post is public.
Why do WordPress blog posts go live with the wrong slug or no category?
WordPress blog posts go live with wrong slugs or missing categories because WordPress defaults those fields to blank or auto-generated values and never prompts you to correct them before publishing. Writers who paste a draft into the editor and intend to configure settings later frequently publish before that step happens, leaving posts with default slugs and no categories that search engines index as thin content. Platforms like Zelitho address this by embedding configuration decisions, including slug format and topic taxonomy, into the workflow before a draft is ever generated, so the structural setup is done before writing begins rather than under pressure at publish time.
How can a content team publish WordPress blog posts consistently without errors across multiple posts?
A content team can publish WordPress posts consistently without errors by treating publishing as a three-stage gate system: a pre-draft setup that locks in slug, category, tags, author, and featured image before writing; a structured four-layer pre-publish check covering SEO fields, links, formatting, and metadata; and a four-step post-publish confirmation that verifies the live URL, indexability, category archive presence, and RSS appearance. Handing a junior editor a read-through checklist without these layers eliminates zero configuration errors, because configuration failures are invisible in the body text. Zelitho builds the upstream stages of this process, specifically topic selection, title scoping, and direct CMS publishing, into one connected workflow so teams are not stitching together separate tools and handoffs that introduce errors at each transition.
What is the fastest way to find out if a newly published WordPress post is being indexed by search engines?
The fastest way to check if a newly published WordPress post is being indexed is to paste its live URL into Google Search Console’s URL Inspection tool immediately after publishing. This 30-second check confirms whether a noindex tag is present and whether Google can crawl the page, catching the most damaging configuration error before the post’s early crawl window passes. You can also confirm indexability through your SEO plugin’s URL inspection panel if you do not have Search Console access.
References and Citations
[1]https://learn.wordpress.org/tutorial/how-to-add-a-blog-or-news-page-to-any-wordpress-website/