
How to Publish an SEO Blog Post in WordPress

TL;DR
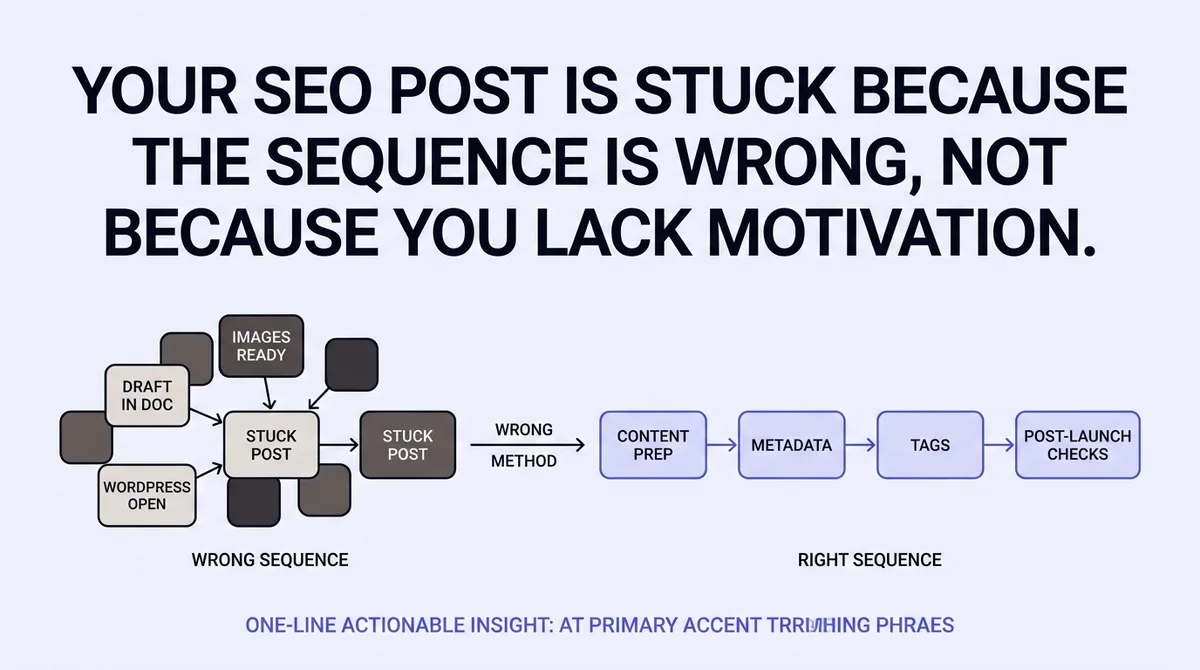
You have a ChatGPT draft in a Google Doc, a freelancer who handed off the images, and a WordPress tab open. The post still has not shipped. That is not a motivation problem. That is a sequencing problem.
Most publishing tutorials tell you to click “Add New,” paste your content, and hit Publish. That skips four layers of decisions that search engines use to evaluate your post before a single reader arrives.
This guide covers the exact sequence: prepare content offline, configure taxonomy and media, set metadata with real character constraints, and run a post-launch check before the tab closes. Marketing leads managing stale blogs and agency operators handling multiple client sites will find a repeatable order here, not a checklist that assumes everything is already done.
Prepare Your Content Before You Open WordPress
Stop drafting inside WordPress. Start with a finished document before you touch the editor.
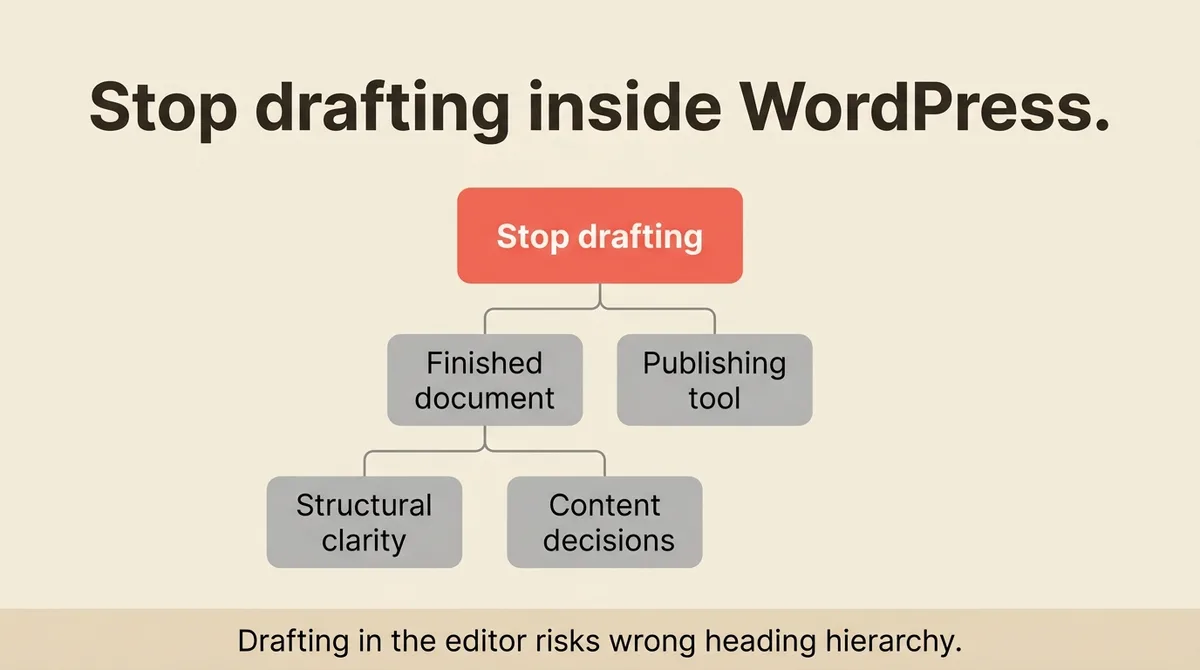
WordPress is a publishing tool, not a writing environment. When you draft inside the block editor, you lose structural clarity. You make formatting decisions before you have made content decisions. The result is a post that ships with the wrong heading hierarchy, missing internal links, or a keyword that drifted away from the original intent somewhere between paragraph three and the conclusion.
The right habit is offline-first content prep. That means your draft, heading structure, and internal links are resolved before you open a new post.
Use one primary keyword to anchor the topic [3]. That keyword should appear in your H1, in one H2, and in the opening paragraph. Beyond those placements, use it where it reads naturally. Do not repeat it mechanically.
Your heading structure follows a strict hierarchy. One H1 for the title, H2 for main sections, and H3 or H4 for supporting points within those sections [3]. If your draft has two H1s or a string of H3s with no parent H2, fix that before you paste anything. WordPress will not flag the error. Search engines will register it.
Early SEO blog posts ran 600 to 800 words and ranked on keyword density alone [2]. That era is over. A post today needs enough depth to cover the topic completely. Check your draft against the primary keyword intent. If your content answers a question at a surface level while competing pages go deeper, length is not the fix. Substance is.
Before you close the doc, confirm your internal link targets. At least three internal links are recommended per post [2]. Have those destination URLs ready. You will add them during the paste-and-format step, not as an afterthought after you hit Publish.
Set Up Taxonomy, Media, and Your Post Slug Before You Write a Single Meta Tag
Taxonomy, media, and the URL slug form a setup block. Handle all three before you touch the Yoast or Rank Math panel.
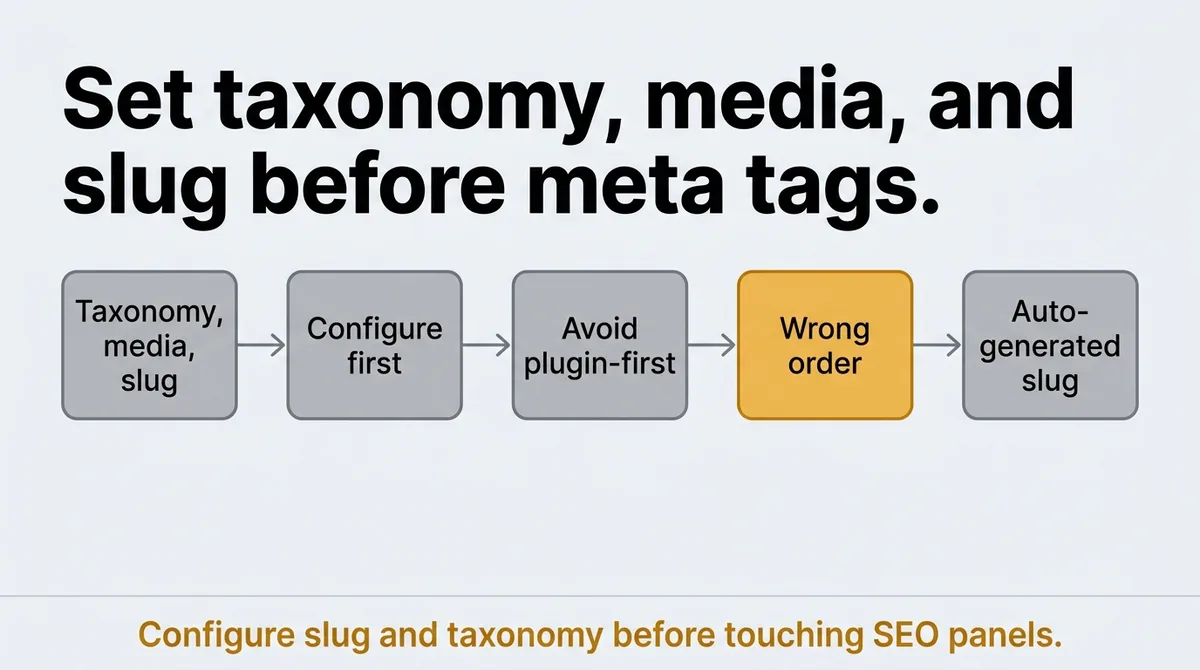
Most people reach for the SEO plugin first. That is the wrong order. Your slug, category, and featured image affect how your metadata reads and how the page is indexed. Configure them first and your metadata step becomes a confirmation, not a discovery process.
URL Slug
WordPress auto-generates a slug from your post title. That auto-generated slug often includes stop words that add no value. Edit it manually.
Keep the slug short. Include the primary keyword. Drop words like “a,” “the,” “how,” and “to” unless they appear in the keyword phrase itself. A slug like /publish-seo-blog-post-wordpress is cleaner than /how-to-publish-an-seo-blog-post-in-wordpress-step-by-step.
Categories and Tags
Assign one category per post. Categories represent your site’s primary topic structure. Stacking multiple categories on a single post creates classification overlap that complicates crawling.
For tags, three is the target number [2]. Tags describe the specific subject matter of that post. They are not keyword lists. “WordPress,” “SEO,” and “content publishing” work as tags for this post. Twenty tags do not help. They create thin tag archive pages that compete with your main content.
Featured Image
Featured image specs matter more than most publishers realize.
The featured image should be at least 1200 pixels wide [2]. Resize to a maximum of 1200 or 1280 pixels wide before uploading [2]. Upload a larger file and WordPress generates multiple derivative sizes automatically, but your upload size still affects server load and page weight.
Stop uploading whatever resolution the freelancer sent. Start verifying dimensions and file size before the image enters the media library.
Keep the file under a reasonable size for page load. An uncompressed image at full resolution will slow the page even if the displayed size looks fine. Use a tool like Squoosh or ShortPixel before uploading.
Add alt text to the featured image. The alt text should describe the image clearly and include the primary keyword if it fits naturally. Do not stuff the keyword into the alt text if the description does not call for it.
Here is a quick reference for the setup block:
Element | What to Set | Common Error |
|---|---|---|
URL Slug | Short, keyword-included, no stop words | Auto-generated slug with filler words left in |
Category | One per post | Multiple categories creating overlap |
Tags | Three topic-specific tags | Tag lists that read like keyword stuffing |
Featured Image | Min 1200px wide, compressed before upload | Full-resolution file uploaded without resizing |
Alt Text | Descriptive, includes keyword where natural | Left blank or filled with keyword repetition |
One clarification: the setup block is not about perfection. It is about preventing the metadata step from surfacing configuration problems you should have resolved ten minutes earlier.
What Most Publishing Tutorials Get Wrong About SEO Metadata
Meta titles and descriptions are not labels. They are the first copy a searcher reads in the results page. They control whether someone clicks your result or the one below it.
That distinction changes how you write them.
Most tutorials say “add your keyword to the meta title and description.” That is necessary but not sufficient. The character limits are what most people ignore, and ignoring them costs you control over how your result displays.
Meta titles should stay under 60 characters [3]. Google truncates titles beyond that threshold. The cut can happen mid-phrase, which means your searcher sees a broken title. Write the title to land clearly within 60 characters. Count them. Do not estimate.
For example, a post titled “How to Publish an SEO Blog Post in WordPress: A Step-by-Step Guide for Beginners in 2024” runs to 90 characters. Google will cut it. The searcher sees “How to Publish an SEO Blog Post in WordPress: A Step-by-Step Guide for Be…” That truncation changes the click behavior.
Meta descriptions stay within 160 characters [3]. The description does not affect ranking directly, but it affects click-through rate. A weak description reduces clicks even when your post ranks in position three. Write the description as a one or two sentence pitch. Include the primary keyword. State what the reader gets. Stay within the limit.
The workflow goal is a Yoast green result [2]. Green on Yoast means the plugin has detected that your keyword appears in the right places: title, meta description, slug, and body content. It does not mean your post will rank. It means the basic signals are present.
One false assumption to correct: a green Yoast score does not mean you are finished with SEO. Yoast checks for presence, not quality. Your meta title can be technically complete and still fail to generate clicks because it reads like a file name instead of a reason to visit the page.
Write the meta title and description the way you would write ad copy. The keyword anchors the topic. The rest of the copy earns the click.
Check your canonical tag if your CMS or theme adds them automatically. A misconfigured canonical tag can point search engines to a different URL than the one you intend to rank. This is a quiet error that takes weeks to surface.
The Pre-Publish Checklist and What to Do in the First Hour After You Hit Publish
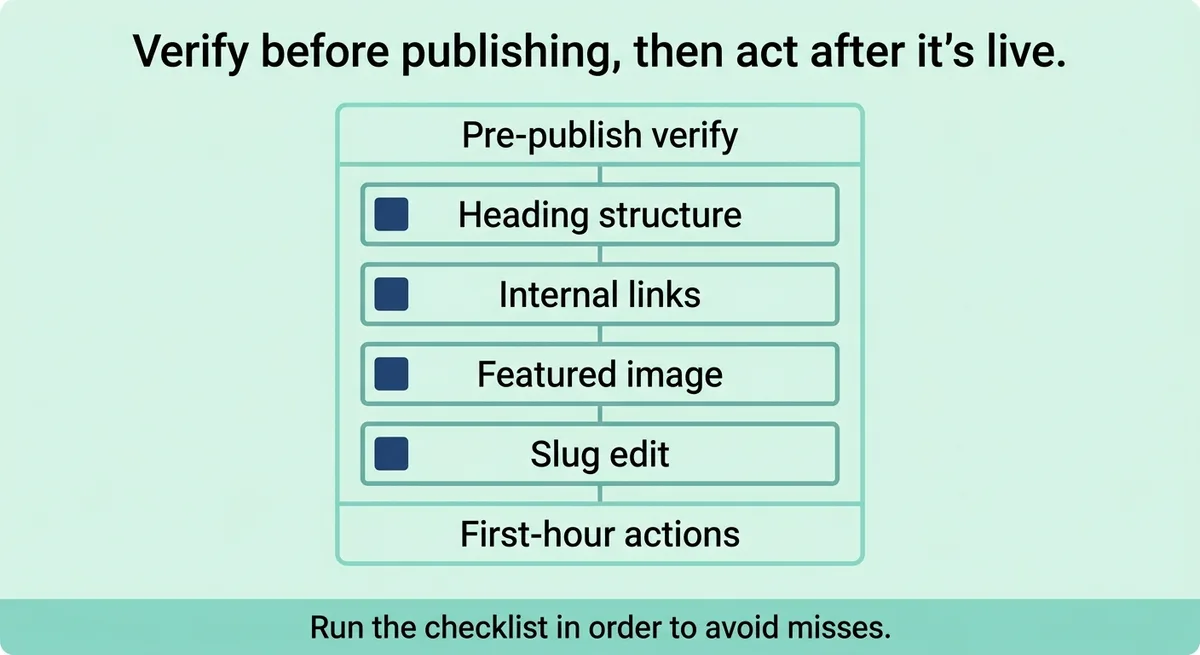
Two separate steps exist here: what you verify before clicking Publish, and what you do after the post is live. Running them as one blurred routine causes misses.
Before You Publish
Work through this sequence in order:
- Heading structure: one H1, H2s for all main sections, H3s only where subordinate content exists.
- Internal links: at least three, pointing to relevant existing content, each with descriptive anchor text.
- Featured image: uploaded, resized, alt text filled.
- Slug: edited, clean, keyword-present.
- Category: one assigned.
- Tags: three applied.
- Meta title: under 60 characters, keyword present.
- Meta description: within 160 characters, click-worthy.
- Canonical tag: pointing to the correct URL.
- Preview: check the post in both desktop and mobile view before publishing.
The preview step catches formatting breaks. A heading that renders correctly in the editor sometimes collapses on mobile. Check it before it is live.
After You Publish
The first hour after publishing is not rest time. It is distribution time.
The content distribution list covers four client platforms [2]. That number reflects a realistic cross-channel footprint: the CMS itself, an email list, one social channel, and a content tracking sheet or project management tool. Your exact mix will differ, but the principle holds. Distribution is not optional and it is not something you schedule for next week.
Submit the URL to Google Search Console immediately after publishing. Use the URL Inspection tool, then request indexing. This does not guarantee instant indexing, but it signals to Google that new content is ready. Without this step, your post waits in a crawl queue that may not reach it for days.
Share the post to whatever social or newsletter channel your audience uses. Do not queue it for a general social calendar and forget it. Get the first distribution signal out within the hour.
Update your internal linking. If existing posts should now link to this new post, edit them. This step is commonly skipped. Internal links from established pages pass authority to new content. Skipping them leaves the new post isolated in your site architecture.
Log the post in your content tracking sheet: date published, primary keyword, URL, and initial meta title. This record becomes your audit baseline. Without it, you cannot efficiently revisit underperforming posts later.
What to Fix on a Published Post Before It Costs You Rankings
A post that shipped with a missed step can be corrected. The window to correct it without lasting damage is short.
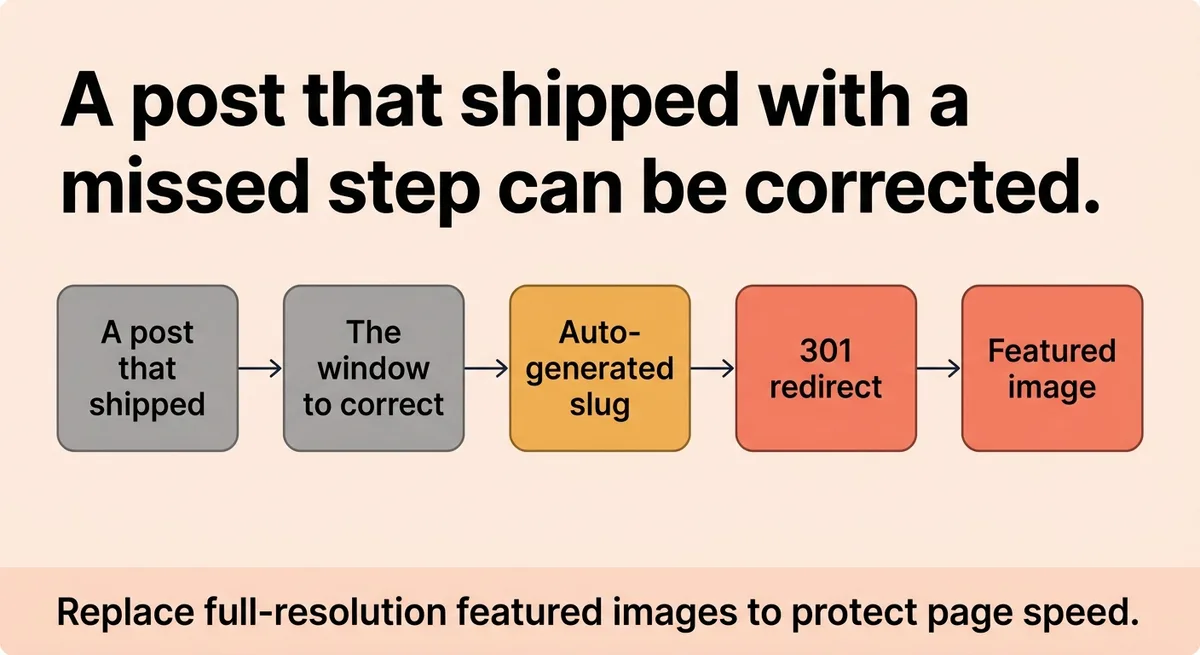
If you published with the auto-generated slug, redirect the old URL to the corrected one before any external links appear. Change the slug in WordPress, then set a 301 redirect from the old path. Do not leave both URLs active.
If the featured image uploaded at full resolution, replace it with a compressed version. The page speed impact is measurable and it compounds with every visitor.
If the meta title runs long and Google is truncating it, rewrite it. Check the “Search Appearance” tab in Search Console to see how your title actually displays in results.
Check the post’s index status in Google Search Console seven days after publishing. If it shows as “Discovered, currently not indexed” or “Crawled, not currently indexed,” you have a signal problem that warrants a content quality review, not just a re-submission.
Fix posts with broken internal link targets. A link that returns a 404 wastes crawl budget and frustrates readers.
Every one of these corrections is easier than rebuilding traffic to a post that ranked briefly and then dropped. Publish with the checklist complete the first time.
References and Citations
[1]https://donedigital.au/step-by-step-guide-how-to-publish-blog-posts-in-wordpress/
[2]https://kcseopro.com/publish-seo-optimized-featured-video-wordpress-blog-post/
[3]https://wisdmlabs.com/blog/how-to-create-seo-optimized-blog-posts-in-wordpress/
FAQ
The correct order is: finish your content offline first, then configure your URL slug, category, tags, and featured image, then set your meta title and description inside your SEO plugin, and finally run a pre-publish preview check before clicking Publish. Sequencing matters because your slug and category affect how your metadata reads, so configuring them before opening the SEO plugin turns that step into a confirmation rather than a discovery process. Platforms like Zelitho connect topic selection, draft generation, and WordPress publishing into one sequence so this order is enforced by the workflow rather than left to memory.
Keep your meta title under 60 characters and your meta description within 160 characters. Google truncates titles beyond 60 characters, sometimes mid-phrase, which changes how your result appears and can reduce click-through rate. A description within 160 characters that includes your primary keyword and a clear reason to click functions as ad copy for your search result, even though it does not directly affect ranking.
In the first hour after publishing, submit the URL to Google Search Console using the URL Inspection tool and request indexing, share the post to your primary distribution channel, update existing posts that should now link to the new one, and log the post in your content tracking sheet. Submitting to Search Console does not guarantee instant indexing, but it signals that new content is ready rather than leaving it in a crawl queue that may not reach it for days. Updating internal links from established pages immediately passes authority to the new post and prevents it from sitting isolated in your site architecture.
A blog publishing workflow stalls when content creation, SEO configuration, image prep, and CMS handoff happen across separate tools and people with no enforced sequence connecting them. The problem is not motivation or missing content: it is that each handoff point, from draft to editor, editor to images, images to WordPress, introduces a decision gap where work sits waiting. Zelitho addresses this directly by combining topic selection, draft generation, on-page optimization, and direct publishing to WordPress into one connected workflow, removing the tool-switching and handoff delays that cause stalled cadences.
Assign one category per post and three tags per post for clean SEO taxonomy in WordPress. Using multiple categories on a single post creates classification overlap that complicates how search engines crawl your site. Using more than a handful of tags generates thin archive pages that can compete with your main content rather than supporting it, so three topic-specific tags that genuinely describe the post is the right target.