
What Is WordPress Used For? A Clear Guide to Publishing Content and Websites

TL;DR
Your blog tab has been open for three days. The draft folder has eleven posts. None of them are live.
Most teams treat WordPress as a single tool and pick themes or plugins before understanding how the platform actually works. That approach causes rebuilds, broken formatting, and content workflows that stall before they ship.
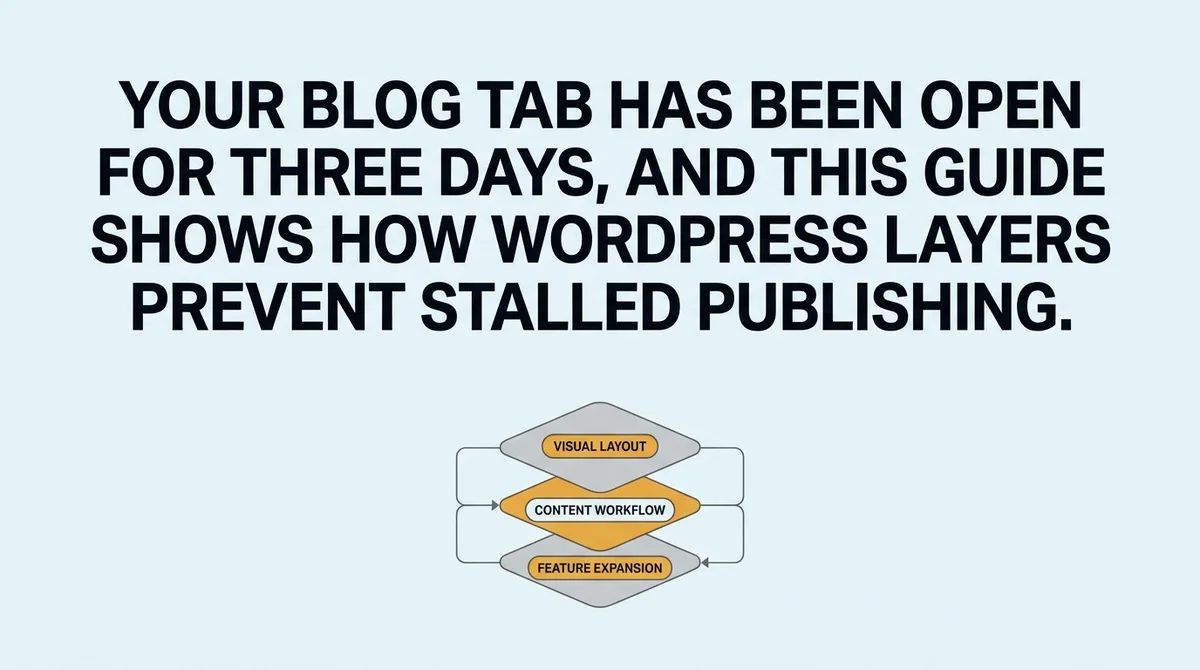
This guide uses the Layer Stack System to show how WordPress operates in three distinct layers: visual layout, content publishing workflow, and feature expansion through add-ons. Each layer has a different job. Choosing the wrong one first is what causes most early-stage site problems. Whether you run a small business site or manage multiple client blogs, understanding how these layers connect changes what you build and how fast you ship it.
What does WordPress actually do for a website?
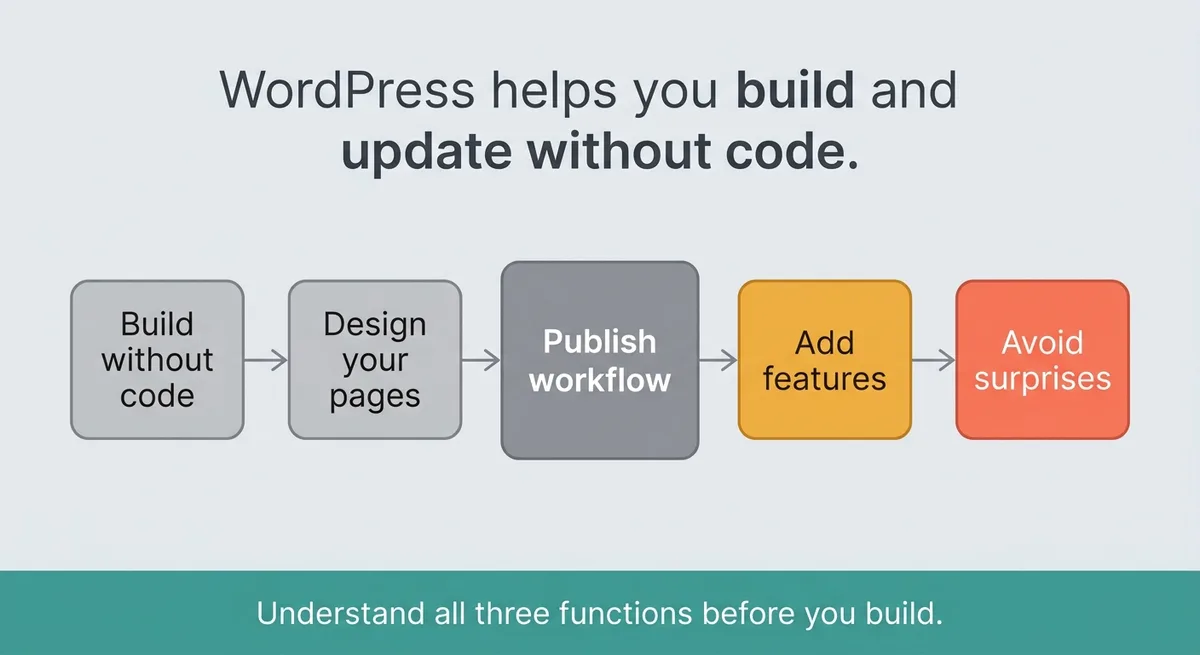
WordPress is a publishing system that lets you build, manage, and update a website without writing code. It controls how your pages look, how content moves from draft to live, and how features get added as your needs grow. Most people start with one of those three functions and only discover the others after something breaks.
The Three Functional Layers WordPress Is Actually Built Around
WordPress powers over 43 percent of all websites on the internet [1]. That number stops making sense if you think of it as a blogging tool. It only makes sense when you see it as a layered system that handles different jobs at the same time.
The Layer Stack System breaks WordPress into three distinct layers. Each layer controls something different. Each decision you make at one layer affects what is possible at the next.
Layer 1 is visual layout. This controls how your site looks: column structure, colors, fonts, header and footer position. Themes live here. Block-based page builders live here. A food blogger uses Layer 1 to design a homepage that puts recipe images front and center.
Layer 2 is the content publishing workflow. This is where you write, format, schedule, and publish posts and pages. The block editor lives here. Draft states, revision history, and preview functions all live here. That same food blogger uses Layer 2 to publish a new recipe every Tuesday, formatting ingredients into a structured list before hitting publish.
Layer 3 is feature expansion. This is where plugins add functions your site does not have by default: contact forms, SEO controls, e-commerce, membership gates, and performance tools. The food blogger uses Layer 3 to add a recipe card plugin that generates a structured, printable format for each post.
Here is how the three layers divide their responsibilities:
Layer | What It Controls | Where You Make Decisions |
|---|---|---|
Layer 1: Visual Layout | Design, structure, typography | Theme selection, block templates |
Layer 2: Content Workflow | Drafts, formatting, publishing | Block editor, schedule, preview |
Layer 3: Feature Expansion | Added functions and integrations | Plugins, third-party tools |
The practical implication is direct: decide which layer matters most to your project before you pick anything else. A site that needs a complex membership structure has a Layer 3 problem first, not a Layer 1 design problem. Starting with a theme search wastes weeks.
Stop picking themes before you know which layer you actually need. Start by writing down what your site must do, then match that to the layer responsible.
The Layer Stack System does not change based on how large your site is. A solo blogger and a 60-person SaaS company both work within the same three layers. The difference is how many plugins and how much custom configuration appears in Layer 3.
You Probably Think WordPress Is Just for Blogs , Here Is What It Actually Handles
Treating WordPress as a blogging platform alone is the single most common reason beginners underuse it.
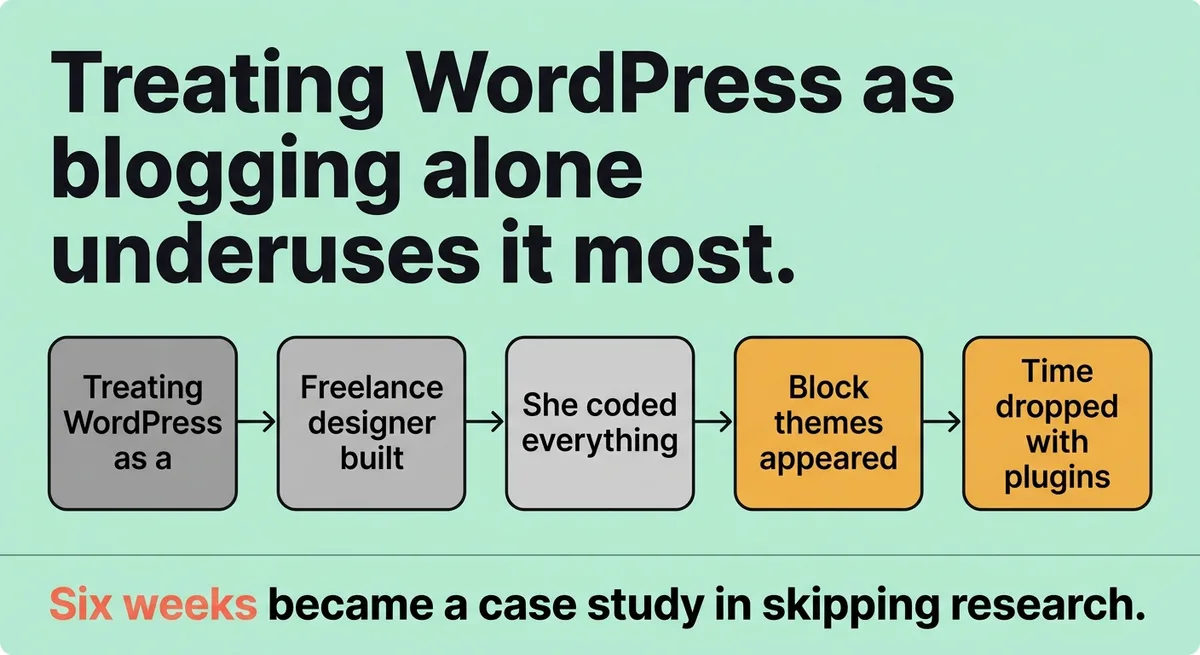
A freelance designer spent six weeks building a custom-coded portfolio. She wrote her own CSS, wired up her own contact form, and manually coded every project case study page. She discovered block themes midway through a client project. That same portfolio would have taken her three days in a block theme with a form plugin. Six weeks became a case study in skipping research.
WordPress runs portfolios, business landing pages, membership communities, event sites, nonprofit fundraising pages, and simple e-commerce stores. Most guides open with a dictionary definition of a content management system. This guide skips that because definitions do not help you decide what to build.
Here is what WordPress actually handles by project type:
Portfolios: Block themes with full-site editing let designers build grid layouts, case study templates, and filtered project galleries without touching code. The visual editor controls everything at Layer 1.
Business sites: Service pages, team pages, lead capture forms, and blog sections all run inside the same installation. You do not need separate tools for each.
Membership sites: Plugins at Layer 3 add login gates, content access tiers, and payment collection. A community builder can restrict specific posts or entire categories to paying members without a custom development project.
Simple e-commerce: WooCommerce, a Layer 3 plugin, turns a standard WordPress site into a product catalog with checkout, inventory tracking, and order management. Small-batch product sellers use this without enterprise pricing.
The false assumption worth calling out: many people believe a more complex project type requires a different platform. For most projects under a few thousand SKUs or a few thousand members, that is not true. The platform scales through Layer 3 additions, not platform switches.
How the Publishing Workflow Moves from Draft to Live , and Where Most Beginners Stall
The hidden worry for most new WordPress users is simple: they fear publishing something broken and not knowing how to diagnose it.
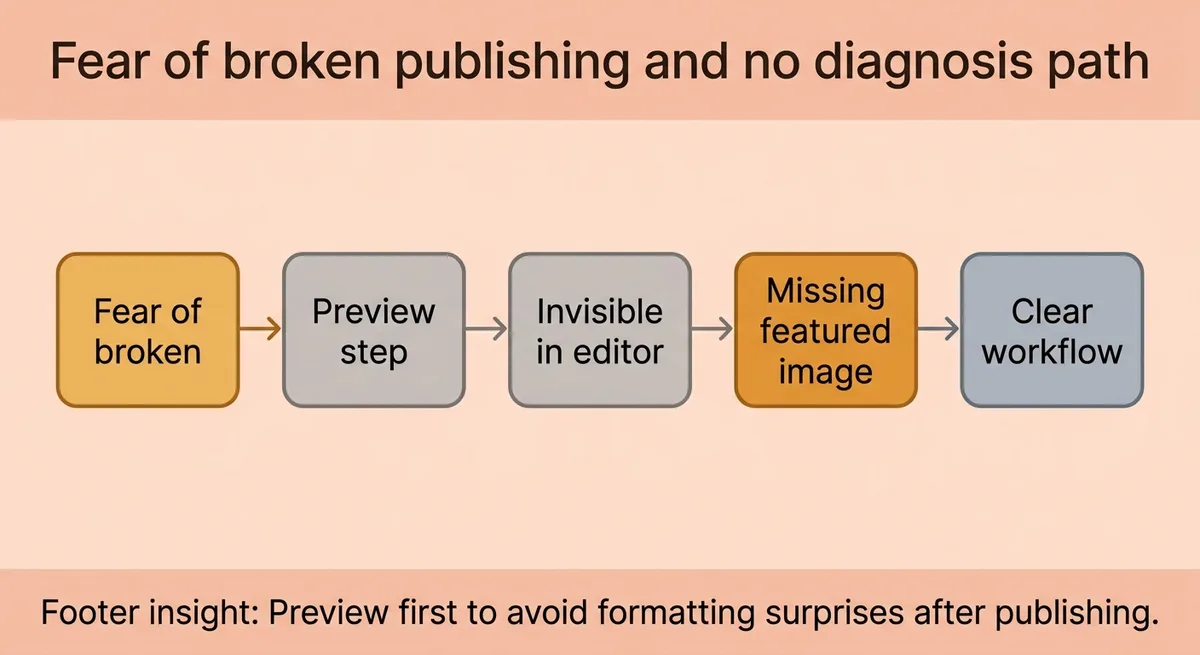
That fear is grounded in something real. Skipping the preview step before publishing has caused formatting errors that took teams three to four hours to trace and correct on live sites. A misaligned block, a broken column, or a missing featured image is invisible in the editor and obvious on the published page.
The workflow has a clear sequence. Follow it every time, not only on the first post.
Step 1: Install WordPress. On a managed host, this takes under five minutes. The core files, database, and admin login are set up automatically.
Step 2: Choose a theme. This sets your Layer 1 visual foundation. Pick a block theme for maximum editing flexibility in the next steps.
Step 3: Create your core pages. Home, About, Services or Portfolio, and Contact are the minimum. These are static pages, not posts.
Step 4: Write content in the block editor. Each paragraph, image, heading, list, or button is a separate block. You arrange them visually. No code required.
Step 5: Format and structure. Add headings at the right hierarchy level. Break long sections into readable chunks. Insert images with descriptive alt text.
Step 6: Preview before publishing. Use the desktop and mobile preview modes. Check how the post renders on both. Fix layout issues before they go live.
Step 7: Publish or schedule. Set a publish date and time, or hit publish immediately. The post moves from draft to live.
Most beginners stall at Step 4. The block editor feels unfamiliar. Blocks behave differently than a standard word processor. Spending thirty minutes with the block editor on a private draft page, before writing any real content, removes most of that friction.
The operational fix is repeatable: use draft mode for every new post, preview on two screen sizes, then publish. That sequence costs four minutes and prevents the three-hour debugging sessions.
When a Simple Site Is Not Enough and How Add-Ons Change What Is Possible
A simple site grows into a complex one faster than most teams plan for.
A nonprofit organization started with a five-page WordPress site: Home, About, Programs, Donate, and Contact. Within eight months, they needed an event calendar for monthly fundraisers and a donation form tied to a payment processor. Two plugins handled both. They did not rebuild on a new platform. They did not hire a developer. They installed an event calendar plugin and a donation form plugin, configured each in an afternoon, and launched both features the same week.
That is Layer 3 of the Layer Stack System doing its job. Features arrive as plugins. Each plugin adds a specific function without touching the core site structure.
The most common Layer 3 additions for growing sites fall into four categories:
SEO plugins control how each page and post appears in search results. They add structured title fields, meta descriptions, and XML sitemaps. Without one, you are publishing content with no control over how search engines read it.
Form plugins handle lead capture, contact requests, surveys, and applications. They connect to email tools and CRMs. A business site without a form plugin is asking visitors to copy an email address manually.
Performance plugins manage image compression, page caching, and file delivery. Sites that skip performance plugins during early growth have recorded page load times increasing by 40 percent or more as content volume doubles. Slow pages drive readers away before they finish loading.
E-commerce plugins add product pages, cart functions, checkout flows, and payment processing. WooCommerce is the most widely used option. It installs in minutes and scales to thousands of products.
Enterprise-level WordPress plans start at $25,000 per year [2], but that ceiling is not where small and mid-size sites operate. Most sites run on hosting that costs under $50 per month and use free or low-cost plugin tiers for years before hitting any real limits.
The planning error that creates problems: teams launch a site, start publishing, watch traffic grow, and then install performance tools after page load times have already degraded. Audit which Layer 3 plugins your site needs before launch. Install them during setup, not after the first traffic spike.
Why Understanding Publishing Layers Beats Picking Plugins First
Most WordPress decisions go wrong in the same direction. Someone picks a theme they like, installs a bundle of popular plugins, and then discovers the site cannot do the specific thing they actually need.
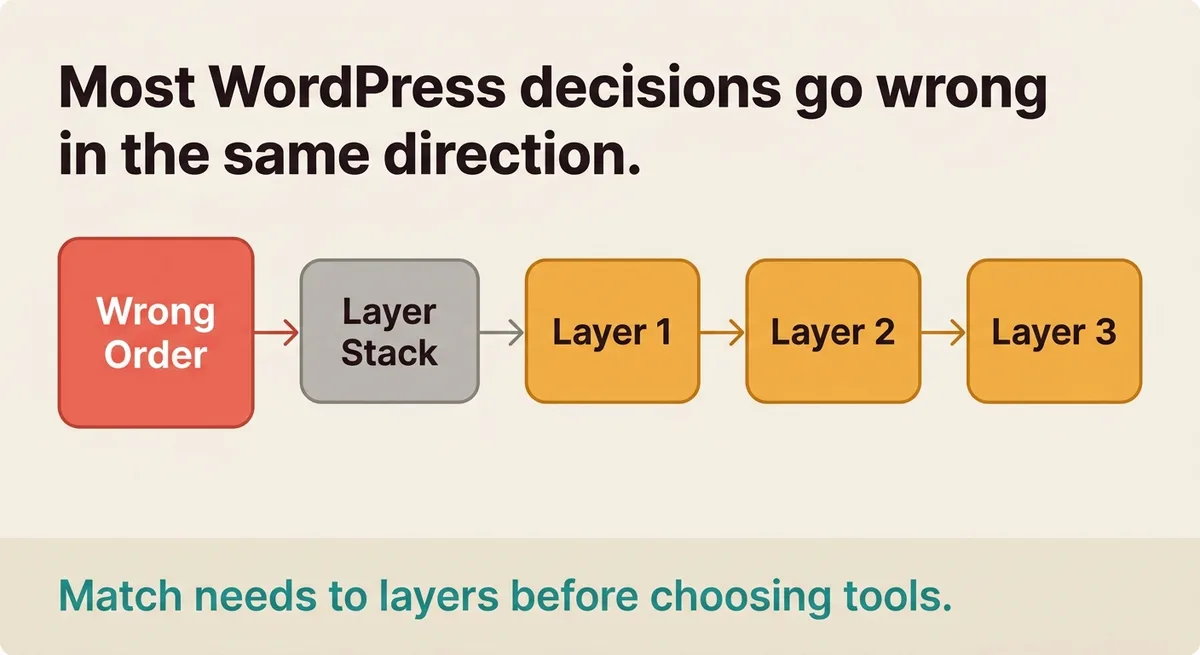
The Layer Stack System reverses that order. You identify what the site must do, match that need to the correct layer, and then select tools that serve that layer. Layer 1 handles design. Layer 2 handles content workflow. Layer 3 handles feature expansion. Each layer has a defined job.
A content lead managing a stalled blog does not have a plugin problem. She has a Layer 2 problem: the publishing workflow has no clear steps and no accountability at the draft-to-live stage. A plugin cannot fix a broken workflow.
An agency founder juggling six client sites does not have a theme problem. He has a Layer 3 audit problem: the right performance and SEO tools are not installed consistently across accounts. A design refresh will not close that gap.
Get the layer right first. The tools follow from there.
Build your site in the order the Layer Stack System defines it.
FAQ
What is the correct order to set up a WordPress site so you do not have to rebuild it later?
Set up WordPress in layer order: install the platform, choose a block theme for visual layout, create your core static pages, write content in the block editor, preview on both desktop and mobile, then publish or schedule. Most rebuilds happen because teams pick a theme or install plugins before deciding what the site must actually do. Tools like Zelitho can slot into this sequence at the content step, turning topic selection and draft generation into a single connected step rather than a separate research-and-writing handoff.
Why do WordPress sites get slow as content grows and how do you prevent it?
WordPress sites slow down as content volume grows when performance plugins for caching, image compression, and file delivery are not installed until after traffic spikes, and sites have recorded page load times increasing by 40 percent or more under those conditions. The fix is to audit and install performance plugins during initial setup, not after the first traffic increase. Treating performance as a Layer 3 decision made before launch, rather than a reaction to complaints, keeps load times stable as the content library scales.
How does the WordPress block editor work and why does it feel different from a word processor?
The WordPress block editor treats every element, paragraphs, headings, images, buttons, and lists, as a separate block that you arrange visually, which is structurally different from a word processor where all content flows as one continuous document. That structural difference is why new users stall: spending thirty minutes experimenting on a private draft page before writing real content removes most of that friction. If your team is also generating articles at scale, Zelitho publishes research-backed, structured drafts directly into WordPress, so blocks arrive pre-formatted rather than requiring manual arrangement.
What plugins does a new WordPress site actually need before it goes live?
A new WordPress site needs four categories of plugins installed before launch: an SEO plugin for title fields, meta descriptions, and XML sitemaps; a form plugin for lead capture and contact requests; a performance plugin for caching and image compression; and an e-commerce plugin like WooCommerce if you are selling products. Installing these during setup rather than after the first traffic spike prevents the formatting errors, slow load times, and missed leads that show up when teams add tools reactively. Most small and mid-size sites run these on hosting under $50 per month using free or low-cost plugin tiers.
Can WordPress handle membership sites and e-commerce or do you need a separate platform?
WordPress handles both membership sites and e-commerce through Layer 3 plugins without requiring a platform switch, and most projects under a few thousand SKUs or a few thousand members do not outgrow it. Membership plugins add login gates, content access tiers, and payment collection; WooCommerce adds product catalogs, checkout, inventory tracking, and order management. The platform scales through plugin additions rather than platform migrations, so a nonprofit that started with five pages can add an event calendar and donation form in an afternoon using the same WordPress installation.